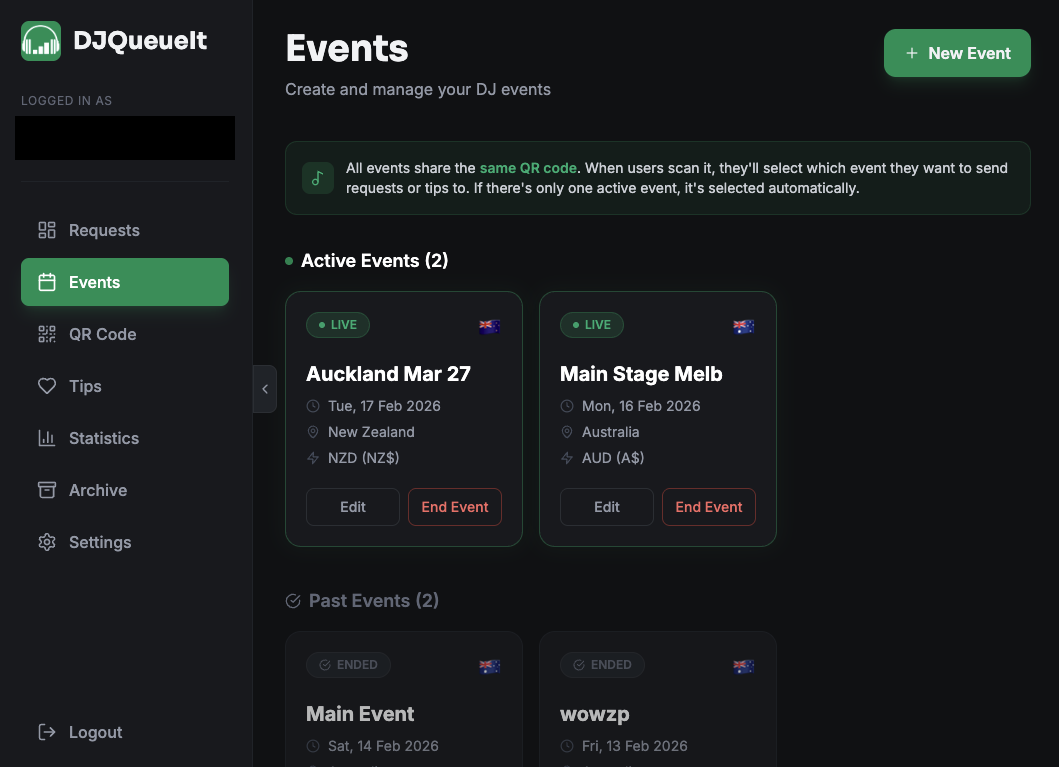
Events
Events let you organise your song requests by gig. Instead of one continuous queue that mixes every night together, each event gets its own isolated queue, stats, and archive.
Why use events?
Without events, all requests land in the same queue regardless of when or where you played. Events fix that — each gig is self-contained so you can:
- See exactly what was requested at a specific night
- Track earnings per gig
- Keep your archive clean and searchable
- Switch between gigs if you're playing multiple nights back-to-back
Your QR code stays the same — fans don't need to do anything differently.
Creating an event
- Go to Dashboard → Events
- Click New Event
- Give it a name (e.g. "Fabric — Friday 7 March")
- Set the date
- Hit Create
Choose the country the Event will be hosted in. This will dictate the currency the user pays in.
Starting and ending an event
Set an event as active to direct incoming requests into it. Only one event can be active at a time.
When your set is done, mark the event as ended. Requests stop being assigned to it and it moves into your history.
Get into the habit of creating an event before each gig and ending it when you finish. It takes seconds and makes your stats and archive much more useful.
Viewing past events
All your previous events live in Dashboard → Events. Click any event to see its requests, earnings, and top songs.
Events and your queue
When an event is active, the request queue on your dashboard shows only the requests for that event. If no event is active, requests still come in — they just aren't tied to a specific gig.